Wednesday, June 3, 2015

Suzzie "F" -- Sidemarker/Blinker mod

A while back, I had my Sport Kick attached to a trailer parked the nose a bit into the street.  I put on my hazard flashers, but noticed there isn't ANYTHING on the side showing the hazards where on.  Didn't like that.

It made me do this modification to my "new' Kick while the nose was taken apart for cleaning and other projects.


This modification consists of moving the marker light "ground" wire to the "hot" side of the blinker.  See arrows in above picture.


Clipping the ground and connecting to the blinker hot.


Solder makes a better joint than a splice... unless you are bad with a solder iron!


Smallest heat shrink I could find in the house. 


Ready to do the other side and put it all back together.

Now the front side markers blink WITH the blinkers unless the marker lights are on. Then they blink opposite the blinkers.

Yes, they still functions like a regular side marker.

It wouldn't be that hard to do even starting with a fully assembled car.

Suzzie "F" -- Tow Bracket (Base Plate) Install

While I had the nose of the car taken apart, I installed the base plate taken from Kick-3.

Getting it to install while doing the AC and engine install, I had to put it together and take apart several times.  Using the bumper from Kick-3 helped as this install drills 4 holes in the bumper "impact bar" and the cover needed to be trimmed in several places.


I didn't get pictures with the "side braces" installed.


If you are installing one of these, follow the instructions that came with it or down load them from the net.

Suzzie "F" -- Bumper Cover

When I bought this Kick, the bumper cover was cracked and scraped up.

The "proper" method to repair these covers use glue type material that cost almost as much as a replacement cover.

I tried a back yard repair:


The worse crack


notice the anchors for the plates


I stop drilled the crack keeping it from cracking farther.


 I melted the cover.... it didn't hold. 

As I was already using the impact bar from Kick-3 so I figured I would treat and paint that cover for re-use on our "new" Kick.


Treated and repainted.


Kick 3 had a front receiver hitch.  For access I installed a flip-up plate holder (From a 70's GM car, with the gas tank fill under the plate.. mounted upside down.)  It also helped when connecting up as a towd.


Lots of room under there!


Suzzie "F" -- Engine Harness Modification

I never liked Suzuki practice of locating the electrical plugs to the transmission under the intake next to the motor.  They are hard to get to if needed and they often get soaked with oil.


This is the stock harness, slightly unwrapped.


Most of the wires will reach the location on the firewall that I desire. 


 The only wire that needs changed is the "starter command" wire, returning from the transmission neutral safety switch.  This is the transmission plug end.  (Normally under the intake a few inches from the starter.)


The connector is easy to remove from the plug.


I removed the old wire to the starter and spliced in a new wire for the starter.  I had problems with my soldering iron and stopped... didn't get the pictures after soldering and wrapping up the harness.

Now the plugs are on the firewall, near the distributor.

Sorry no picture.

Suzzie "F" -- post test drive.

During the test drive, the motor worked fine.  But I noticed some grinding from the right front brake.

I took off the wheel and the pads are NOT worn.

The grinding was from the rotor rubbing on the caliper bracket.  I have seen this caused by incorrectly installed bearings.  (left side of my 1992.)


Pulling the rotor I noticed a LOT more space behind the hub than there should be.  On disassembly the clip on the rear of the hub was missing.  The seals back there had been gound to paste.  (Sorry, no pictures.)

I just replaced the hub with a spare.  (It is good to have a parts car!)

Suzzie "F" -- Installing the JDM motor

When the motor and body where ready, my son and I pushed the gray Kick-3 onto the street and Suzzie Flossie back into the garage.


I didn't really take many good install pictures.


Ready for test drive.


Suzzie "F" -- Taking the JDM motor from "Kick-3"

The gray 1992 "Kick-3" (my third Sidekick) has a bad 4 speed auto transmission but a very good JDM motor that I installed two years ago.

I am pulling to install in my "new-to-me" 1994 white Sidekick.  (Suzzie "F")


This picture is for showing how I remove the torque converter bolts.  A long extension reaching well past the front of the motor.  The extension itself keeps the motor from rotating.  (I wish this worked on my J18 equipped Sport!) 

Sorry but I didn't take any other pictures of the actual engine pull.

Looks pretty good for being installed and running for two years.


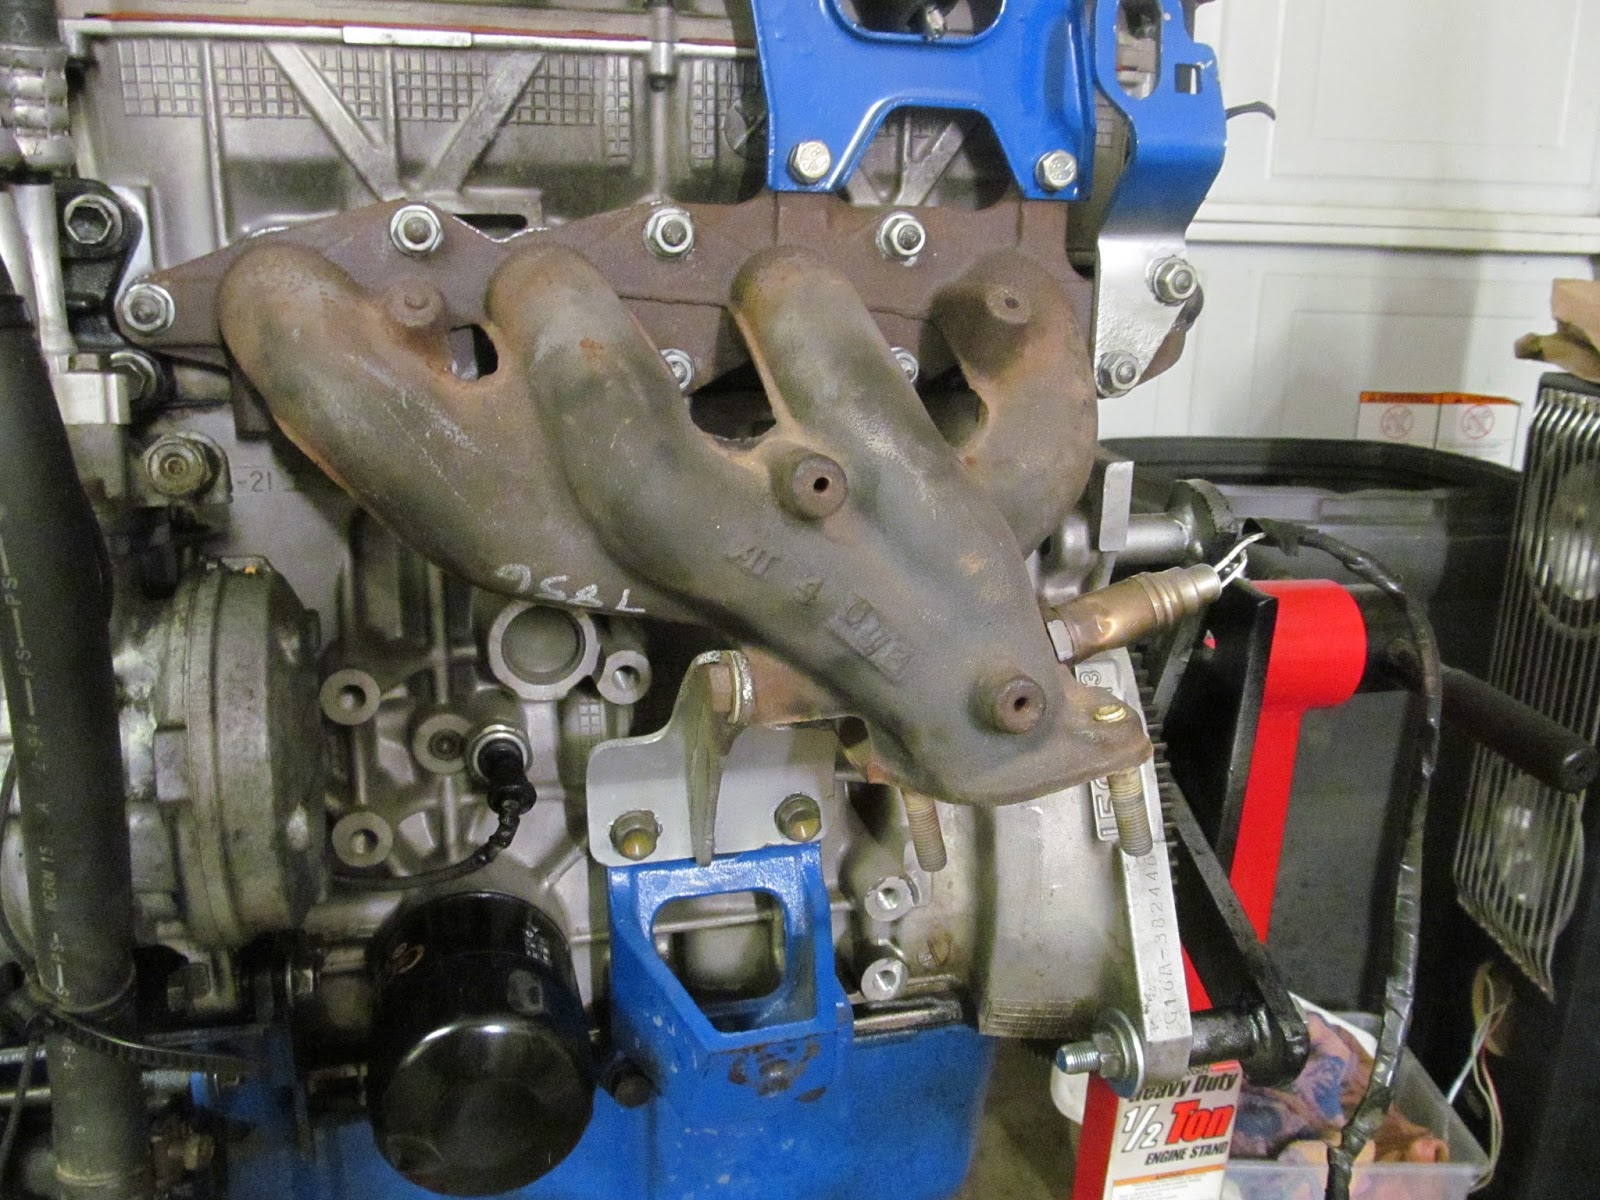
This is the older style 16v manifold, used up to about 1995 on "federal" models.  These have two down pipes to the cat and have the advantages of a tri-y headers.  This manifold has a very small crack in the #4 tube.


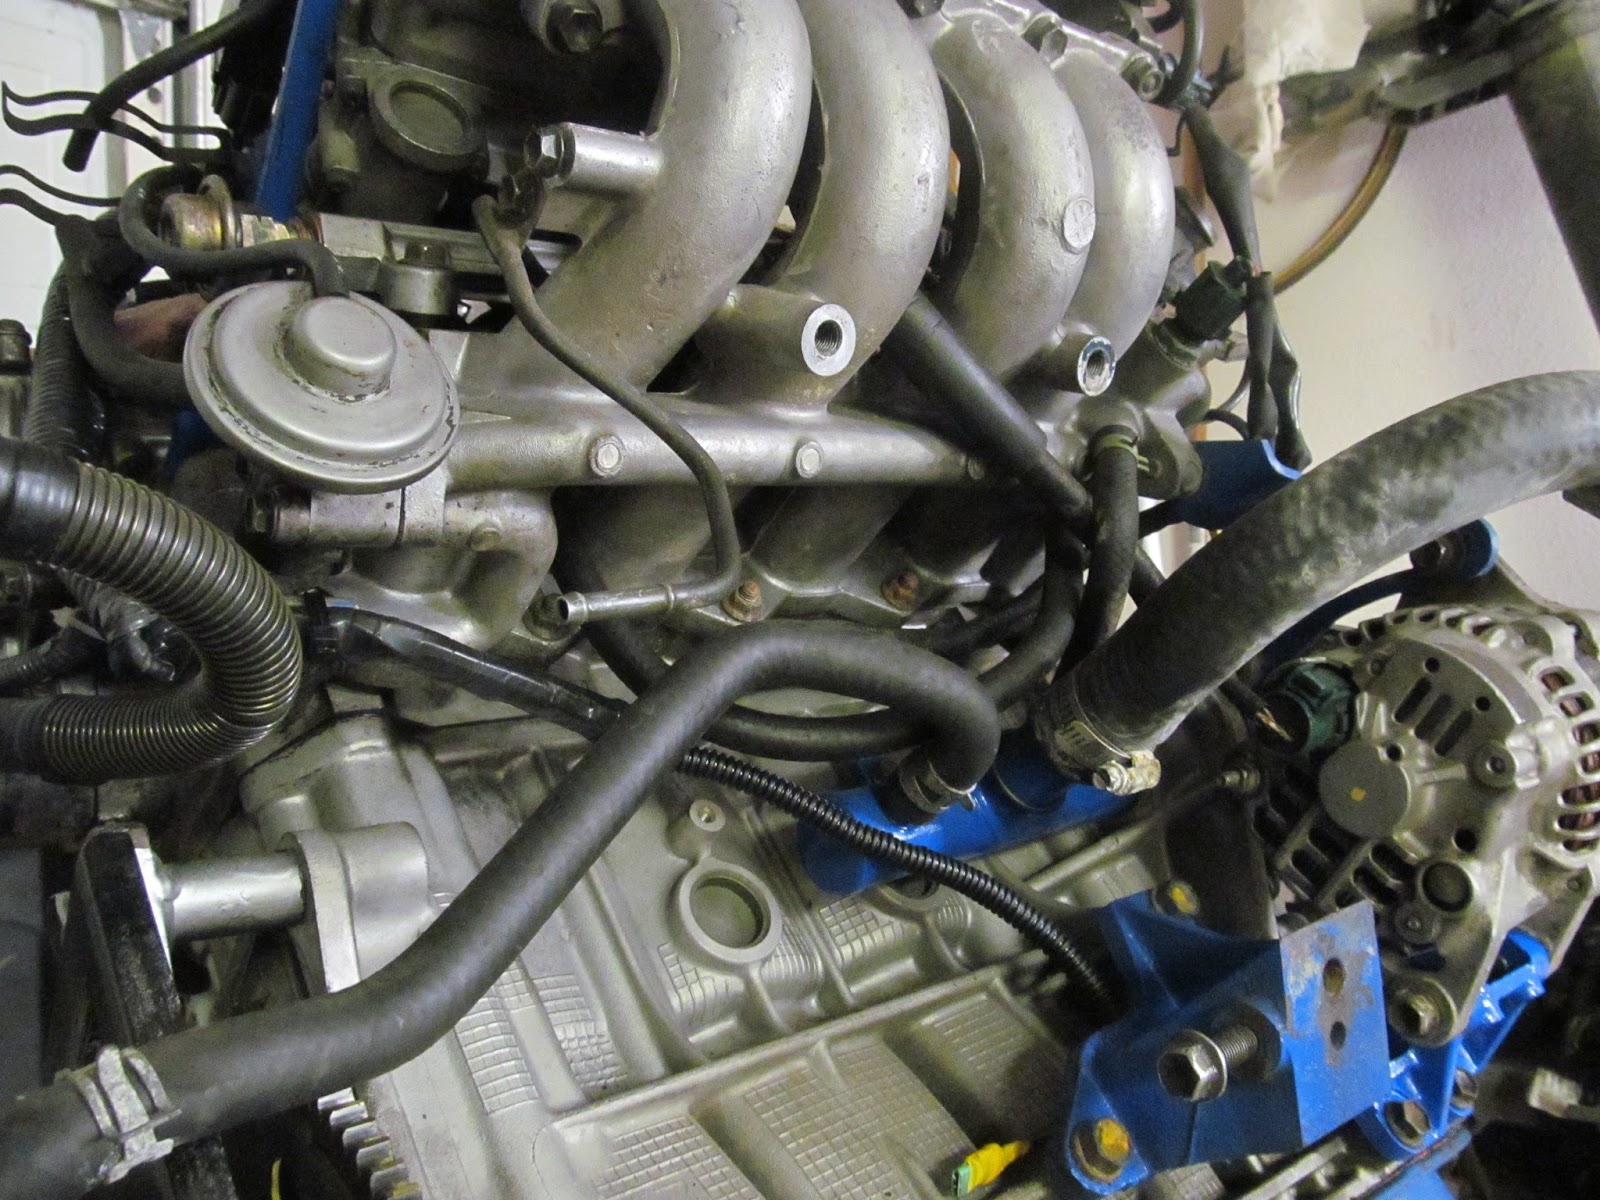
This is the "newer" style single down tube 16v manifold used on most 1996 and up.  They where also used before 1996 in some markets... like California.   My 1994 is a Cali market vehicle.  This particluar manifold came to me with the JDM motor.  It is not cracked.  (rare)


I am also using the EGR valve with the thermo-probe.  I need to remove the work around resistor I installed in the plug.  My 1992 had a 1994 Cali ECU that expects a thermo-probe.  The resistor "turned off" the constant CEL it had when I bought it.


My parts car (1994 8v) came to me with a hole in the timing belt cover, allowing the timing to be verified without pulling the cover.  It had a plug that didn't fit the hole I drilled.  I covered the hole with duct tape.  It came in handy when installing the distributor.