Each has "issues" and each will get it's own thread. This is the motor post.
Issues:
-- running on three cylinders due to bad exhaust valve.
-- cracked exhaust manifold... in three places.
-- leaking seals and gaskets.
-- very dirty, oily and greasy.
these all will be addressed. This picture shows the bad valve.
(top valve, first cylinder, from about 12:30 to 3:00 on the valve.)

This is the "good" head from T2 sitting on my "spares" shelf.

I tacked the old head on the block and pressure washed it. Now with the head removed again.

using wd40 to clean the carbon and gasket residue from the block,

most of the way done, oil pan removed.


-- next day --
noticed something under the timing belt cog... while the cog appeared to be positioned correctly, the keyway is damaged.


It is not as bad as some I have seen. It at least has a SMALL notch that will keep the key in position, AS LONG AS THE COG IS FULLY ON THE CRANK. but it would not take much to really mess up the timing. I am thinking of a way to correct it.
update 10/28/2016 --------------------------------------------------
Ok, here is the plan:
1. Fill the space with JB Weld.
2. Grease the key and wipe of the excess. This should act as a release agent.
3. Press it into the key way.

4. Clean it up and hold it in place with vice grips.

5. wait 24 hours or so.

6. pry out the key.

7. Clean it up, test fit the timing cog.

Note: while cleaning up and smoothing down the JB Weld, it cracked. I put a few drops of super glue on the crack.
But it seems pretty good. While I haven't tried it with the key, the cog fits over the crank. I will replace the seal before putting it all back together.
----
-- update 11/1/16 --
after the seals were installed, (see another post on it) It took a bit of manipulation to get the key in the keyway with the cog installed.

Blue locktite on the threads

set to 94 ft/lbs

locked the crank with two bolts in the flywheel bolt holes and a long pry bar across the engine stand supports.
Now the day is nice, so I will be doing the stuff best done outside.... cleaning and painting.
I missed taking pictures of some things. but here are pictures I have:

Head from T2 almost cleaned up enough to install.

As I did not refinish the head or the block, this seemed a good idea.

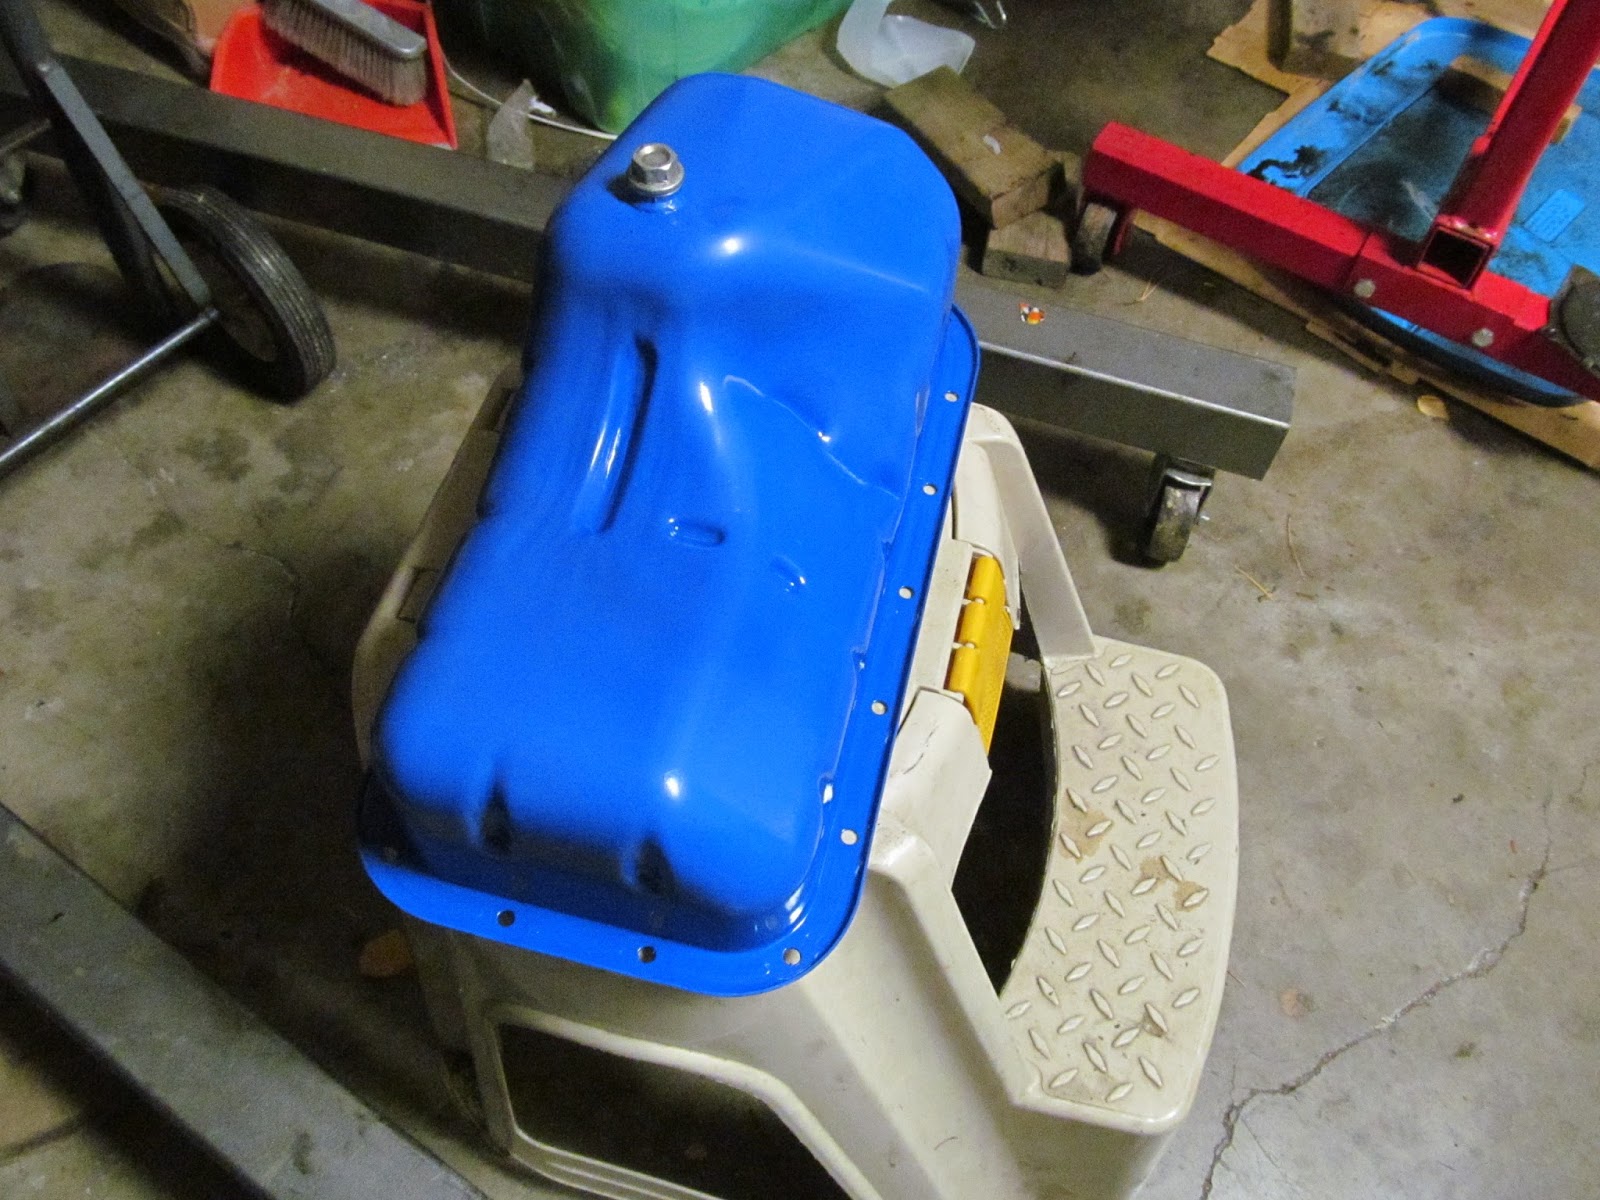
I decided I did not like the cork gasket I received, I went with the factory RTV only.

Letting it cure before the final torquing of the pan bolts.

Getting close to done. Brand new aftermarket exhaust manifold.

Close to all I can do while on the engine stand.

No comments:
Post a Comment