Tuesday, September 16, 2014

Sidekick Sport J18 engine install

I noticed I didn't say anything about my Sidekick Sport after buying it.

I had it on the road after changing the front tie rods and rims.  They were damaged when I bought it, totaled from CoPart auto auctions.

I also set it up as a towd and have towed it to California/Arizona and back a couple of times.  (I did burn up a front hub in Arizona, on our way to Oklahoma, and had to leave it at my brother's house.  We fixed it on the return trip.

It works well, but is a little too heavy to pull with my GMC. 

BUT.... We found out why the Suzuki "J" motors are sensitive to oil.  Both being full and being clean.

This is the motor after pulling and disassembly:


Notice the hole in the side of the block... there is a matching hole on the other side!  The number one connecting rod blew... taking out the oil pump and both sides of the block.

I called Foreign Engines http://foreignengines.com/ from the northwest US. They delivered a J18 (front wheel drive application) to my door in under 24 hours.


It took almost a year, but I got it installed:


That seemed to be my last picture of this project.  I THOUGHT I had taken some during the actual install.

I went out and took a few today:


Sharp eyed readers will notice the exhaust manifold isn't a J18 item.  My J18 one was cracked... just a little. ;) I got a manifold from a J20 equipped Tracker... I think a 2000.  But I needed to find a way to connect it as the newer applications use the cat as the down-pipe and can not get them from Pick-n-pull.  I had a muffler shop connect it up along with a larger pipe and muffler.


It is a bit loader than I like but WELL within legal limits.

Here it is today, not bad for something that has about to be scrapped more than a few times!


Now I need to get back to work on my current project:


UPDATE to this page:

I was asked to provide pictures of my rear seal installation tools / method.  I destroyed several seals trying different methods until I hit on this one.


Plumbing parts from home depot.  take the seal with you and pick out the size you need.


Three studs from exhaust manifold to head connection. to hold the guide in place.


there was an angled lip on my "guide" pipe.  I was concerned it would catch, but it seemed to work fine with it.


Use grease to ensure the seal slides easily.


 The seal installation tool... I put a block of wood across the open end and hit it with a mallet.  I can not remember what the duct tape was for... depth indicator?


 Went in first time with no problems. Just remove the studs and you are good to go!


Installed seal.


Sunday, September 14, 2014

Sidekick body swap

On to the next project.

I have been collecting parts for this build for a while.

I want a 2 door Tin Top Suzuki Sidekick automatic to tow behind my motorhome.  While I do not NEED 4 wheel drive, I do need the transfer case to serve as a drive line disconnect.

I found a body on criagslist: 

I bought it and had it delivered.

I later found this one:


I bought it and also had it delivered.

It has been a while... over a year, so it is time to get started.

Pulling the frame complete with engine and running gear from the blue 1994 Sidekick, and installing the transfercase from the red 1989 tin top. them slipping it all under the TinTop body.

Oh ya, I need to transfer the front inner sheet metal, as the TinTop has the right front corner missing.


So, I need to start.... 


Tuesday, August 26, 2014


I have installed, tested and finally got the CC working in my  4 door, 16v, 4 speed auto, 1992 Sidekick.  This car did not come with any wiring for a stock CC unit.

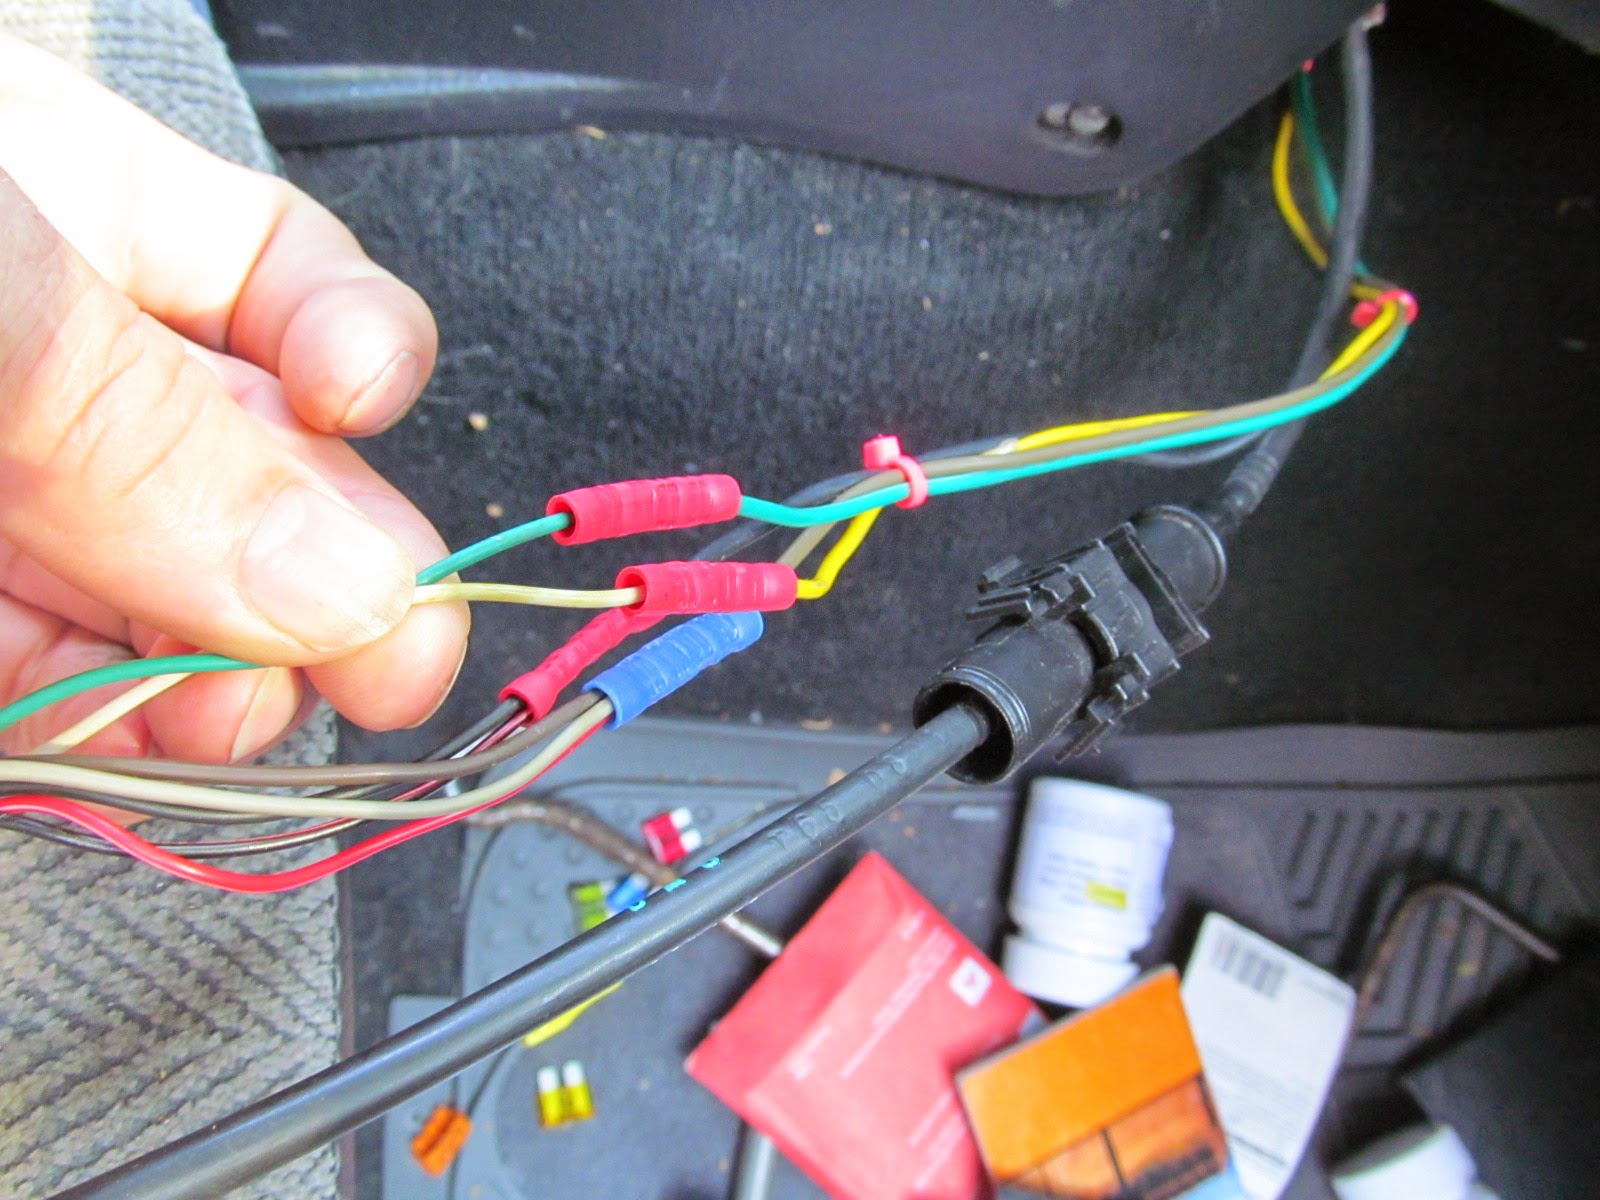
During preliminary testing, I had already tapped into the signals for VSS and brake lights at the transmission computer connector. All I needed was power (tapped into the cigarette lighter) and ground. (Used a handy screw that contacted the metal structure under the dash.)   All the other connections were in the harness I made up connecting the CC unit to the remote.

CC unit Electrical Connections:
A ........ Cruise "ON/OFF" input
B ........ Set/Coast input
C ........ Resume/Accel input
D ........ Brake/Clutch normally closed (12v) input
E ........ Ground
F ........ Switched +12v
G ........ Brake/Clutch normally open (0v) input
H ........ Cruise inhibit signal
J ........ Cruise engaged signal
K ........ VSS signal

Pins A and F plus power for the remote came from the cigarette lighter through a toggle switch on the dash.  This switch is more of "positive shut off" safety item and really could be left on all the time.  In fact the cc is always powered in most applications and needs to see the brake being applied a few times before the cc will engage.  This same power is also routed to the "common" contact of the relays A, B and C on the remote.  (relay D is unused.)

Pin B is connected to the normally open (NO) contacts of the relay "B" in the remote unit.  To set the cc, or slow down, press the "B" button on the remote.

Pin C is connected to the normally open (NO) contacts of the relay "A" in the remote unit.  To resume cruise, or accelerate, press the "A" button on the
remote.

Pin D is connected to the normally closed (NC) contacts of the relay "C" in the remote unit.  To disengage (coast), press the "C" button on the remote.

Pin E, ground, is connected to the other items needing ground and then connected to a grounded screw under the dash.

Pin G is connected to the brake lights.  I tapped this wire at the transmission computer.  (Green wire)

Pin H, Cruise inhibit signal, is left unconnected with this CC unit.  I have read that there are units that require a digital signal before the cc will engage (mostly in later model car CC units.... just before the CC was integrated into the PCU.) All of the units I have tested work by leaving disconnected or grounded.  My tester has open, 12v and ground capabilities for this line.

Pin J, Cruise engaged signal, is also left unconnected.  I understand there is a CC light in the TracKick cluster but haven't researched/tested if I can make it work with a GM CC unit.  i suspect so...

Pin K is connected to the vehicle speed sensor (VSS) from the speedometer cluster.  I tapped this wire at the transmission computer.  (yellow wire)


The last picture shows the jumper on the remote unit that needed to be removed to make the remote work as momentary switches.  As delivered, it worked as one press on, one press off.... not what i needed!

I clamped the CC cable to the dash structure just inboard of the gas petal.  I connected it to the petal with zip ties.  (Come on, this _IS_ just a test of concept!)


You can also see the scotch locks I used to tap the wires at the transmission computer.  Sharp eyed readers might notice the wire color swap at the connectors above the cable clamp.  I had made a mistake when making my "harness" and connected a green wire on the CC pigtail from Pin K to a green wire I had expected to connect to the brake lights.  (Green in the TracKick harness)  It should have been to the yellow wire, to match the yellow VSS wire in the Sidekick....


Oh well... I do not think anyone else will be working on it anyway.

After getting the CC to work, I moved the CC unit under the driver's seat and strapped it to the jack handle.


I still haven't taped the remote to the steering wheel, but as my sone is currently driving this "Kick" it isn't a problem.  He doesn't like to use cruse and isn't driving very far anyway... just 5 miles to work.     


Saturday, April 26, 2014

Juckyard CC update

I received the remotes from China that I plan on using for my Junkyard cruise control for both my GMC motorhomes and Sidekicks.


I'll post more later as I get the project actually going.

Here are some pictures of my tester and checking that the VSS signal from the Sidekick speedometer cluster will work.


The CC system "sets" and the cable retracts and extends as expected depending on road speed.  (IE: the VSS signal is comparable, so the project can continue.)

But really... I need to get the J18 installed in the Sidekick Sport.

Thursday, March 20, 2014

It has been a while from my last post.

My projects, both current and the waiting have changed.

1.  I blew up the J18 in the Sidekick Sport and have a replacement (JDM J18) going in. 

2. After the Sport died, I picked up a non-sport 4 door Kick.  I have done several changes to it, including a JDM motor.

3. My "User" coach (GMC #2) broke down on a trip to California.  It is sitting in Red Bluff CA with a hole in the #7 piston.

4.  Posts on the Sidekick forum have me thinking of installing cruise control in the sidekicks... just like I did for GMC #2, from junkyard parts.

5.  I found a basket case 2 door tin top Kick ('89 JLX).  Mostly planning on using the shell.  I have a '94 2 door soft top Kick Parts rig with a damaged body.  The plan is to make one good rig from the two.

6.  I still have GMC's #1 and #3.

-- Wife has medical issues that eat into my project time.  Sucks, but you do what you need to, and get done what you can.

I'll be posting pictures and stuff soon.  I know there is a few TracKick* types interested in the Junkyard Cruise system and will be using this site for the write-up and procedures. 

I have to go to work now....

* TracKick is what I call the First generation (1989–1998) Suzuki Escudo.  In the US they were called Suzuki Sidekick or Geo Trackers.  Other markets had names like: Asüna Sunrunner, Chevrolet Tracker, Chevrolet Vitara, GMC Tracker, Mazda Proceed Levante, Pontiac Sunrunner, Santana 300/ 350, and most common Suzuki Vitara.  The most active forum seems to be: http://www.suzuki-forums.com/suzuki-sidekick-escudo-vitara-geo-tracker/

Monday, September 12, 2011

The New Towd -- Sidekick v2

I sold our small 2 door Sidekick on July 4th. On the 6th I put in a bid for a 'totaled' 1996 Sidekick Sport at a Copart Auction. I won the bidding and paid the fees. (More than I expected.) Here it is "As Delivered."


Issues at delivery.

-- Driver's outside mirror missing... looks broken off.
-- Both front rims bent. Right tire looks OK, but left tire has two large blisters on the sidewall.
-- Left front fender dented.
-- Left headlight surround broken.
-- All trim scratched, some loose.
-- Front suspension damaged.
----- Tie rods shot. left side inner and outer along with center.
----- Left ball joint damaged.
----- Steering wheel not centered.
----- Front struts leaking.
-- Radio (Alpine) was removed sometime between viewing and delivery.
-- Spare tire old and cracking.
-- Even though it had been used as a Towd, the tow brackets had been removed. Most like by the PO. (Previous Owner)
-- Even though It was billed as "Runs and Drives." It would not start. (Dead battery.)

Wednesday, June 1, 2011

Two gets Brighter -- H4 Headlights

For years the US has restricted the types of headlights that could be used in North America(NA). While lighting technology was moving ahead everywhere else, NA drivers had to make due with old sealed beam headlights. I can understand some of the concern... you really do not want drivers blinding each other with too bright headlights. BUT... many of the available lights (in places other than NA) have better coverage where you want the light, and more importantly, much better light cut off to keep the light out of on-coming driver's eyes. (Nothing like two blind drivers piloting tons of steel towards each other, at high speed, expecting to "miss" each other by a few feet!)

The laws have slowly changed and better lights are now legal here.

SO... The old technology sealed beams need to go.

I got some headlights with replaceable bulbs off the Internet. They look like good lights and have "city lights."


From the front, the lights look a lot like the sealed beams. The glass has a non-symmetrical pattern is a little "flatter."


The back has a large rubber seal and the city light bulb sticking out the lower part of the back.


The replaceable H-4 bulbs can be found almost anywhere and use the same connection as the sealed beam.


Due to the shield on the old plug will not plug onto the new lights....


... a little work with the dikes fixed that. Note that I also installed a headlight relay harness (see my last post) and did not "need" to do this. But I wanted a back-up if I had problems with the relays.


This is using the stock harness, a new H-4 light in one side and a old sealed beam in the other side. Can you guess what side is which? (Notice the light cut off on the spare tire cover... I have seen better but this isn't near as bad as many.)


It isn't hard to tell from here. The one light was installed without the city light or the large rubber seal. The headlight buckets need some modifications to truly "work." (Notice the clearance lights? ... mmm pretty!)


It isn't hard to pull the buckets once the lights are removed... you do not even need any tools. Grab and pull out on the bucket next to the spring, ...


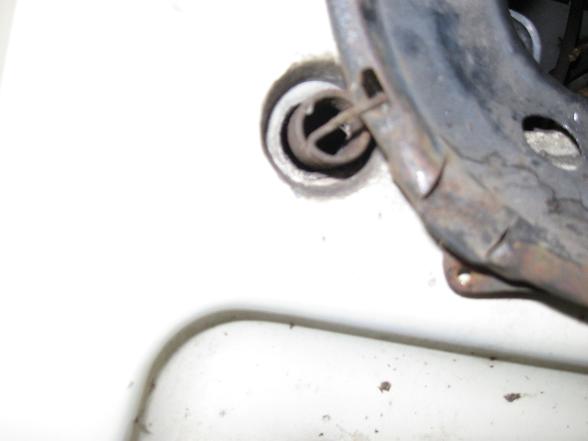
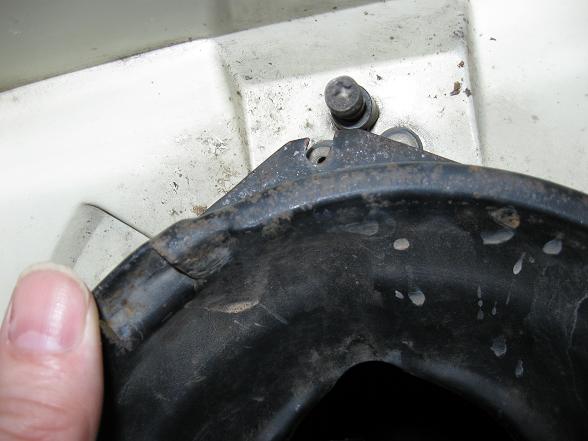
Turn the bucket to release the top screw. (The slot is angled.) ...


Then pull the bucket inboard to release the side-to-side adjuster.


Un-hook the spring and it is done.


See how the inner lip of the bucket touches the light and doesn't have room for the seal.


I used the seal to mark where the lip need changed.


I also marked the city light location. (both bulbs out.)


I used my high tech metal bending tool... a crescent wrench. Bend a little at a time and go around a few times to prevent splitting of the metal.


half way...


Bent enough.


I like step drills for many projects.


Small hole drilled and checking for centering of the hole.


City light bulb installed.


H-4 bulbs are easy to change. ...


... It doesn't even take any tools.


The city light bulb will not clear the body behind the bucket. Marked the center...


Used a hole saw to cut... a hole.


I also trimmed the driver side stock headlight connector... just in case. I then sealed it up.

The lights do not look much different when done. While these are an improvement over the stock sealed beams, I believe headlights with better low beam patterns are available... most cost more than I am willing to pay. I'll be watching for better lights. (I might just install fog lights.)

This was done to #2 coach, spring 2011 and costs for this project was under $100.

The lights also came with higher wattage bulbs (normal low beam, extra high beam) but I have not installed them. I expect them to be more useful way out in the country on dark 2 lane roads. I might install them later.... time will tell.