The laws have slowly changed and better lights are now legal here.
SO... The old technology sealed beams need to go.
I got some headlights with replaceable bulbs off the Internet. They look like good lights and have "city lights."

From the front, the lights look a lot like the sealed beams. The glass has a non-symmetrical pattern is a little "flatter."

The back has a large rubber seal and the city light bulb sticking out the lower part of the back.

The replaceable H-4 bulbs can be found almost anywhere and use the same connection as the sealed beam.

Due to the shield on the old plug will not plug onto the new lights....

... a little work with the dikes fixed that. Note that I also installed a headlight relay harness (see my last post) and did not "need" to do this. But I wanted a back-up if I had problems with the relays.

This is using the stock harness, a new H-4 light in one side and a old sealed beam in the other side. Can you guess what side is which? (Notice the light cut off on the spare tire cover... I have seen better but this isn't near as bad as many.)

It isn't hard to tell from here. The one light was installed without the city light or the large rubber seal. The headlight buckets need some modifications to truly "work." (Notice the clearance lights? ... mmm pretty!)
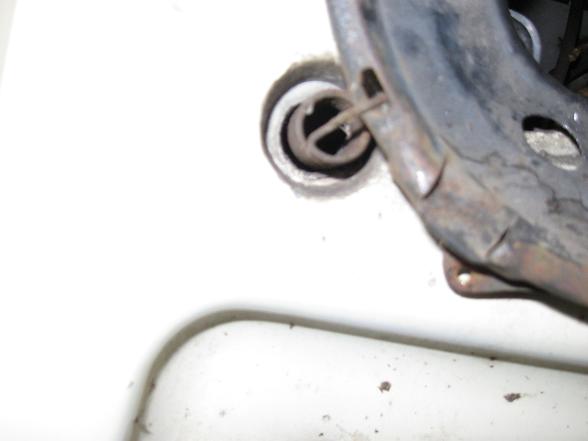
It isn't hard to pull the buckets once the lights are removed... you do not even need any tools. Grab and pull out on the bucket next to the spring, ...
Turn the bucket to release the top screw. (The slot is angled.) ...

Then pull the bucket inboard to release the side-to-side adjuster.

Un-hook the spring and it is done.

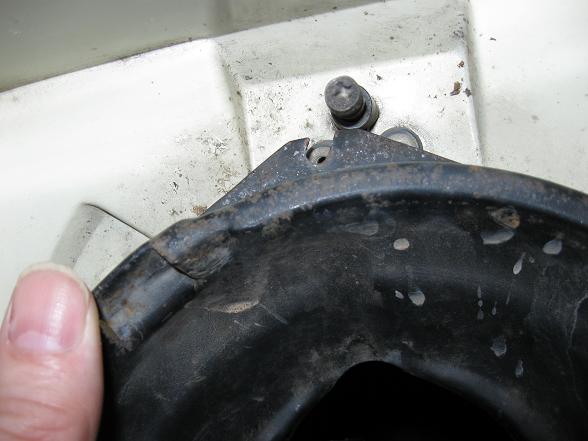
See how the inner lip of the bucket touches the light and doesn't have room for the seal.

I used the seal to mark where the lip need changed.

I also marked the city light location. (both bulbs out.)

I used my high tech metal bending tool... a crescent wrench. Bend a little at a time and go around a few times to prevent splitting of the metal.

half way...

Bent enough.

I like step drills for many projects.

Small hole drilled and checking for centering of the hole.

City light bulb installed.

H-4 bulbs are easy to change. ...

... It doesn't even take any tools.

The city light bulb will not clear the body behind the bucket. Marked the center...

Used a hole saw to cut... a hole.

I also trimmed the driver side stock headlight connector... just in case. I then sealed it up.
 The lights do not look much different when done. While these are an improvement over the stock sealed beams, I believe headlights with better low beam patterns are available... most cost more than I am willing to pay. I'll be watching for better lights. (I might just install fog lights.)
This was done to #2 coach, spring 2011 and costs for this project was under $100.
 The lights also came with higher wattage bulbs (normal low beam, extra high beam) but I have not installed them. I expect them to be more useful way out in the country on dark 2 lane roads. I might install them later.... time will tell.