Wednesday, December 31, 2014

The next steps... sheet metal.

I'll be needing to figure out how much of the sheet metal needs to be moved from the parts car to the Tin Top.  Also how.... and if I should get someone else to do it.  :(

Both cars currently have even fewer parts installed than the pictures and the tin top body is now sitting on the undamaged chassis from the parts car.

The Tin Top:


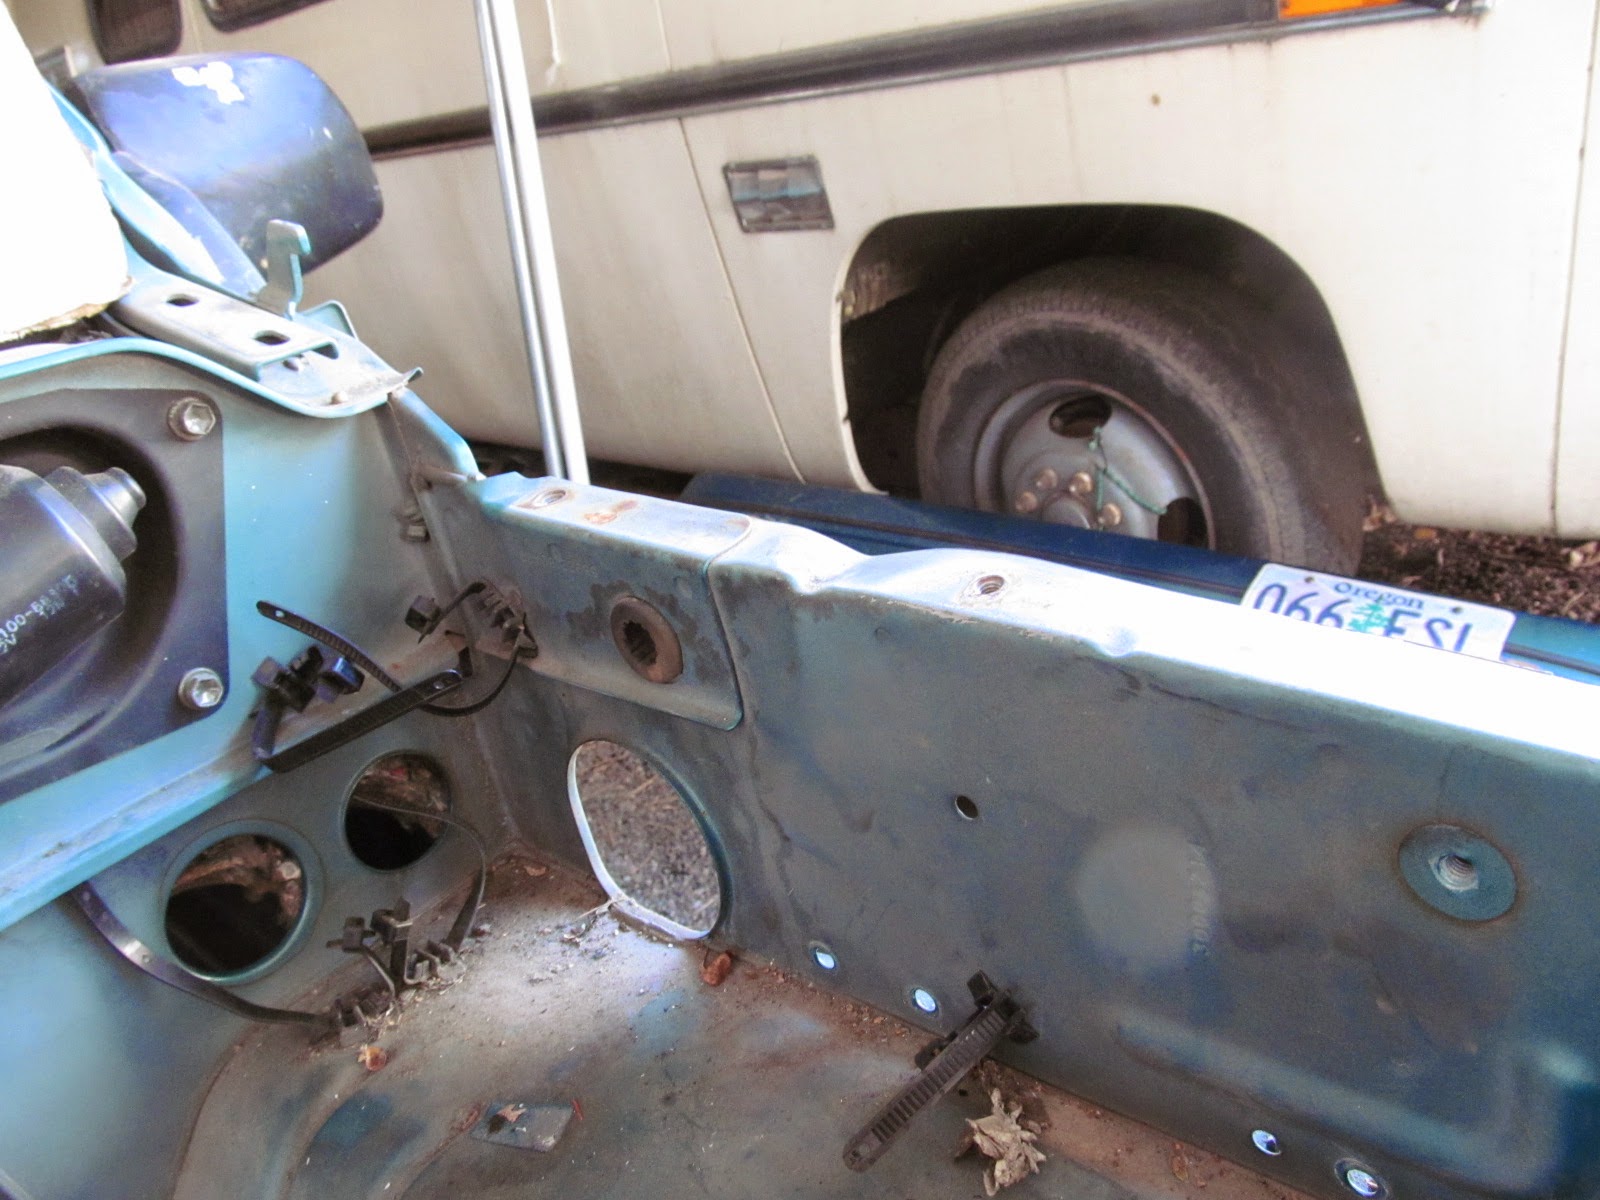
The PO cut off the damaged sheet metal.  There is surface rust around the battery.


The parts car:


The concerns are the side support stiffener is much longer on the 1994 parts car.


The driver side metal is slightly tweeked from when I dropped the body. 


The parts body is currently sitting on the '89 (damaged) chassis.  Propped up off the frame with some wood.

Tuesday, December 30, 2014

Stripping the Parts Car (Part 5, Removing the Main Harness)

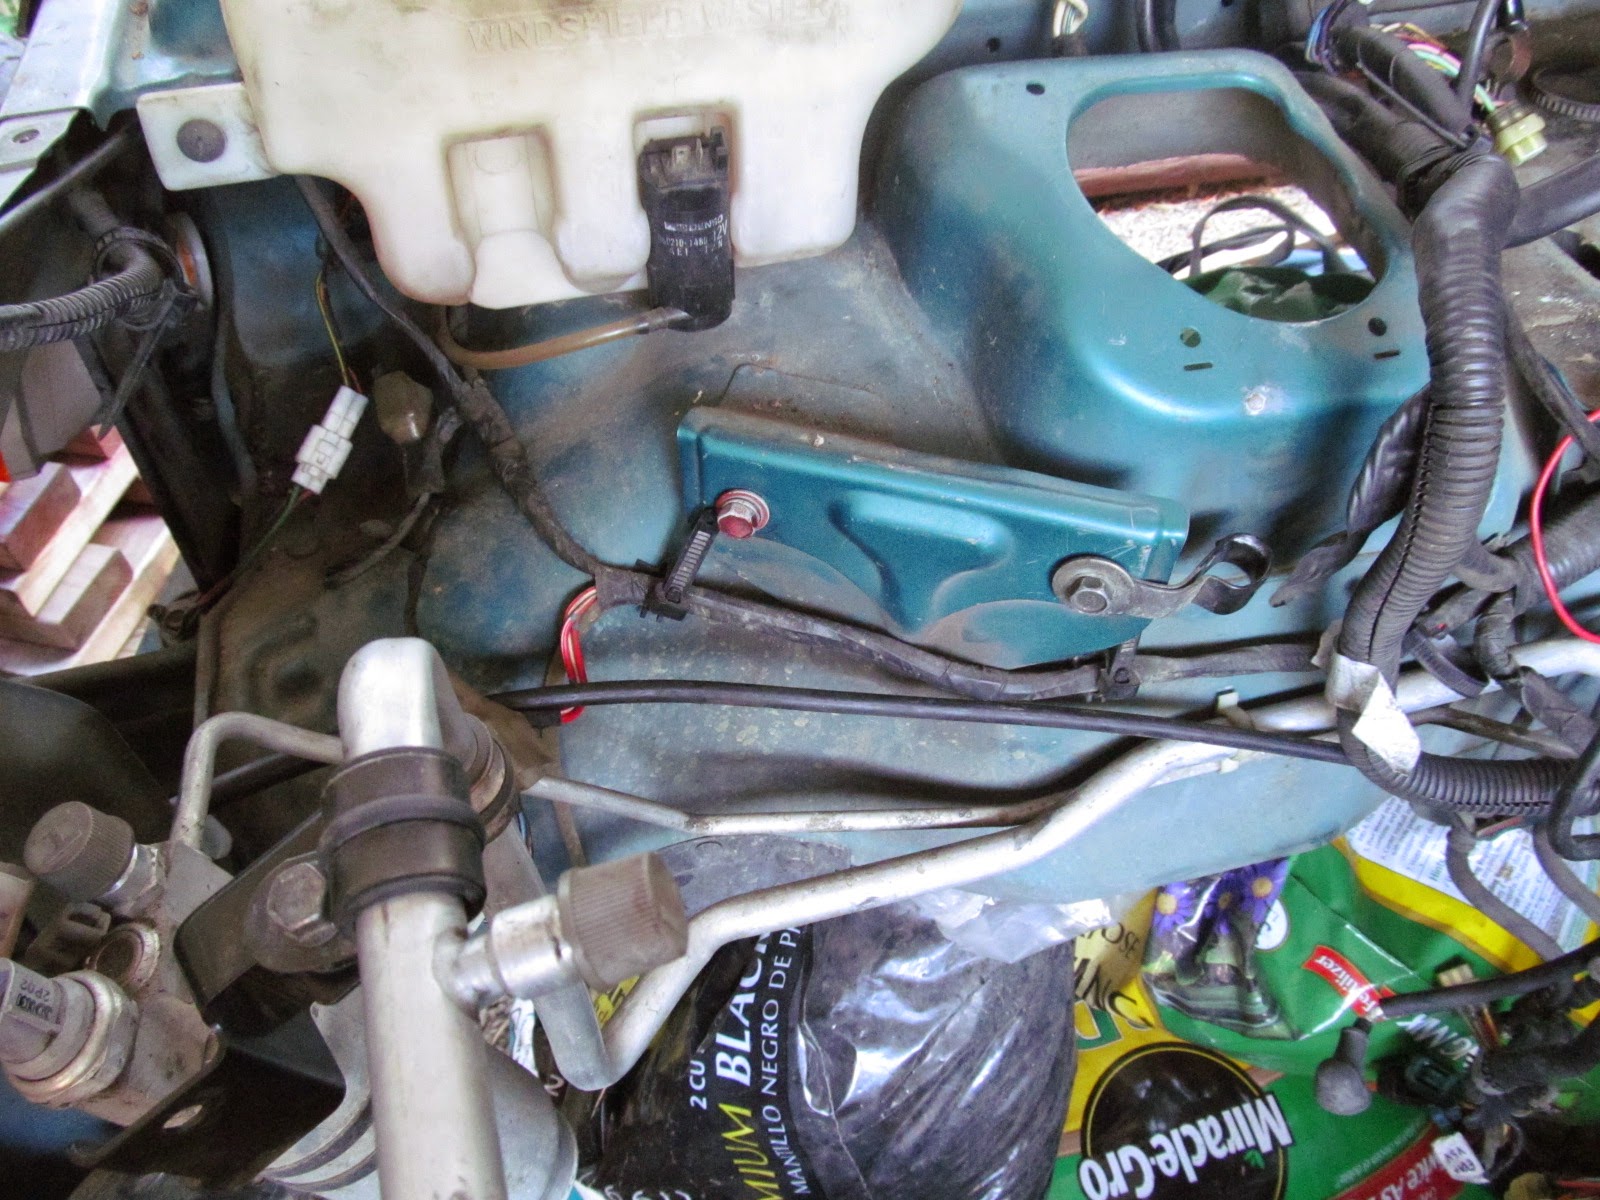
The Main harness is removed by starting at each headlight, turn signal and side marker and working back.  These are pictures of the installed harness working back from the front.  The pictures show the air conditioner system still installed, but I did remove, seal and box that system before removing the main harness. Also the power harness and engine bay fuse box by the battery can be separated from the main harness at the fuse box.  The fuse box wouldn't fit through the hole in the firewall anyway.  You work each connector through the firewall one at a time.


The main harness runs across the inside of the firewall and connects to some firewall mounted items items and a few grounds.  It also runs between the heater case and firewall.  The heater case needs unbolted and pried from the firewall padding.  I left the harness connected to the computer and fusebox.


I piled most of the parts in the back before boxing them up.


After moving the parts inside:


Friday, November 28, 2014

Stripping the parts car (Part 4, The Dash)

To get the main harness out of the car, it is easier if you remove the dash.  It is also a good possibility that I'll be using the 1994 dash harness behind my 1989 JLX style dash. In any case, I'll need to compare connectors and pins.  The '94 really doesn't need it anyway...

So...
The steering wheel and the covers for the column need to be removed.  I am fairly sure you can leave the speedometer cluster installed in the dash.  Just disconnect the cable.  You should be able to reach it after the dash is unbolted.
 

You can see the (removed) covers for the top three screws.  There are also three screws at the bottom lip in each foot well. 

I keep forgetting about the grab bar on the dash.  It bolts (4 bolts) to these brackets.  (Shown after dash removal.) They are reached after removing the glove box.


I pulled it out a little and checked that all had been disconnected.  There are 4 or 5 connectors on the drivers side and a few on the passenger side.  The exact number will vary with equipment installed.  Power door locks, power windows,  mirrors and the like.

After making sure all was disconnected, I slid the dash back and rotated it down.


Here is the "stuff" behind the dash... including the main harness.


There are a few wires that hadn't been disconnected. They wires that did not disconnect are from the Suzuki alarm system  I removed this alarm and stored it... most likely never to be used again.  (much better system available for cheap now days.

EDIT: adding picture to show location of the "warning control buzzer."  Note that this is a 1994 8v model.  I have seen this sam buzzer in 3 different locations.


If the dash was installed, this would be above and just to the right (towards the door) of the glovebox.  Notice the bolts/bracket for the grab bar?

Stripping the parts car (Part 3, 8v engine harness)

Now with the body on something stable:


Time to work on the wire harness.  My '89 doesn't have a main or engine harness.


The engine harness

 The end at the fire wall


Just inside the fire wall is the plug to disconnect the engine harness.  I should have left it connected to the engine!


Thursday, November 27, 2014

Stripping the parts car (part 2, still chassis)

The body made it "safely" to the supports.  Now it is safe to strip the parts for use on my '89 tin top.


 Used the old "rattle" cans of black paint on the chassis.

I later pulled the motor and transmission and put it in th garage until the tin top body is ready.


 This picture was requested by a "TracKick" forum member.  It is the throttle and kick down cables on the rear (firewall end) of the throttle body.


Stripping the parts car (part 1, Separating the body and chassis) 1994 Sidekick, 1.6 8 valve, two wheel drive.


I have pulled the chassis from my parts Sidekick.  I'll need to figure out a better method of lifting the body from the chassis as I only dropped the body twice when lowering it. :(


I was hoping the cherry picker could reach all the way to the body balance point.


Even with the load leveler all the way forward, it was not the balance point.


I needed to use my motorhome jack to lift the front.


Supported for the roll-out.


 Chassis out, now to lower the body to supports (old tires).


The motorhome jack slipped and the nose hit the ground.  

The seam for the fender (with the bolts) landed on the jack stand.


Doesn't look very safe from this angle.

Tuesday, September 16, 2014

Sidekick Sport J18 engine install

I noticed I didn't say anything about my Sidekick Sport after buying it.

I had it on the road after changing the front tie rods and rims.  They were damaged when I bought it, totaled from CoPart auto auctions.

I also set it up as a towd and have towed it to California/Arizona and back a couple of times.  (I did burn up a front hub in Arizona, on our way to Oklahoma, and had to leave it at my brother's house.  We fixed it on the return trip.

It works well, but is a little too heavy to pull with my GMC. 

BUT.... We found out why the Suzuki "J" motors are sensitive to oil.  Both being full and being clean.

This is the motor after pulling and disassembly:


Notice the hole in the side of the block... there is a matching hole on the other side!  The number one connecting rod blew... taking out the oil pump and both sides of the block.

I called Foreign Engines http://foreignengines.com/ from the northwest US. They delivered a J18 (front wheel drive application) to my door in under 24 hours.


It took almost a year, but I got it installed:


That seemed to be my last picture of this project.  I THOUGHT I had taken some during the actual install.

I went out and took a few today:


Sharp eyed readers will notice the exhaust manifold isn't a J18 item.  My J18 one was cracked... just a little. ;) I got a manifold from a J20 equipped Tracker... I think a 2000.  But I needed to find a way to connect it as the newer applications use the cat as the down-pipe and can not get them from Pick-n-pull.  I had a muffler shop connect it up along with a larger pipe and muffler.


It is a bit loader than I like but WELL within legal limits.

Here it is today, not bad for something that has about to be scrapped more than a few times!


Now I need to get back to work on my current project:


UPDATE to this page:

I was asked to provide pictures of my rear seal installation tools / method.  I destroyed several seals trying different methods until I hit on this one.


Plumbing parts from home depot.  take the seal with you and pick out the size you need.


Three studs from exhaust manifold to head connection. to hold the guide in place.


there was an angled lip on my "guide" pipe.  I was concerned it would catch, but it seemed to work fine with it.


Use grease to ensure the seal slides easily.


 The seal installation tool... I put a block of wood across the open end and hit it with a mallet.  I can not remember what the duct tape was for... depth indicator?


 Went in first time with no problems. Just remove the studs and you are good to go!


Installed seal.